Is Quartzite Too Much for a Bathroom?
Quartzite is often associated with luxury kitchens and dramatic statement islands—but many homeowners hesitate when it comes to bathrooms. Is quartzite overkill for a smaller, more intimate space? Is it impractical? Or is it actually one of the best materials you can use?
The short answer: No, quartzite is not too much for a bathroom—when it’s used correctly, it can be one of the smartest and most beautiful choices.
Let’s break it down.
Why Quartzite Works Surprisingly Well in Bathrooms
Bathrooms place unique demands on materials: moisture, daily use, cleaning products, and visual balance all matter. Quartzite performs well across all of these areas.
1️⃣ It Handles Moisture Better Than Many Expect
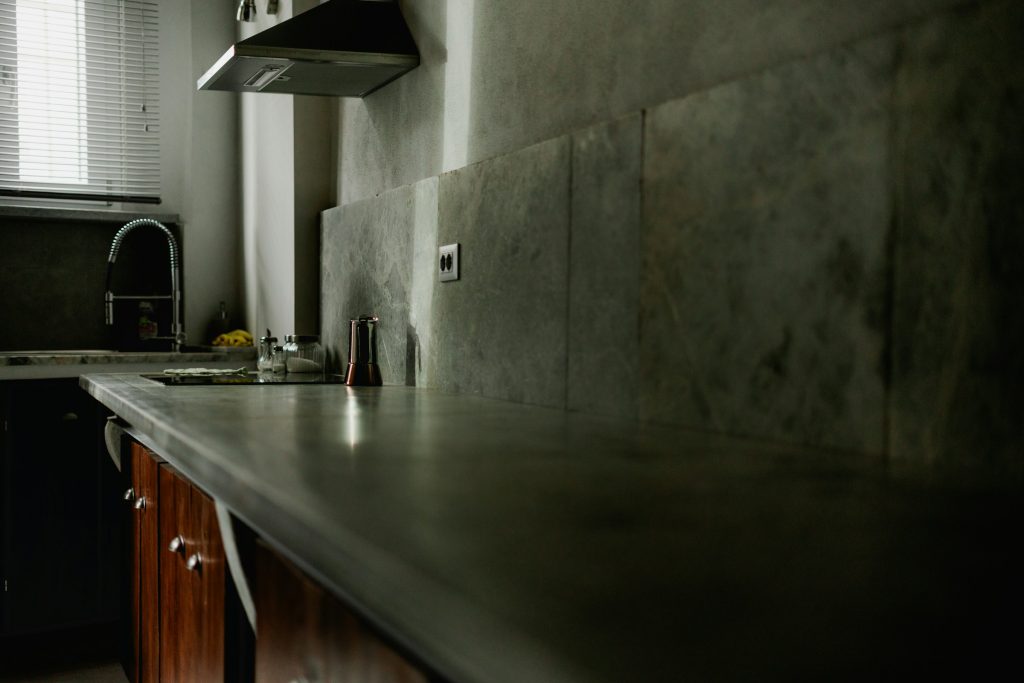
Quartzite is dense and highly resistant to water absorption when properly sealed.
-
Temporary darkening from water is normal and harmless
-
Mold and mildew resistance is strong
-
Performs well in humid environments
This makes quartzite suitable for:
-
Vanity tops
-
Shower walls
-
Tub surrounds
-
Accent walls
2️⃣ It Elevates the Entire Space
Bathrooms are smaller than kitchens, which means materials have more visual impact. Quartzite instantly raises the perceived quality of the room.
Instead of feeling “too much,” quartzite often makes bathrooms feel:
-
More spa-like
-
Cleaner and brighter
-
Thoughtfully designed
-
Custom and high-end
A little quartzite goes a long way.
3️⃣ It’s More Durable Than Marble
Many homeowners love marble bathrooms—but worry about etching and staining.
Quartzite offers:
-
A marble-like appearance
-
Far better scratch resistance
-
Much less etching from water and mild products
For bathrooms that are used daily, quartzite is often the more practical luxury option.
When Quartzite Can Feel Like Too Much
Quartzite only feels overwhelming when it’s poorly matched to the space.
Common Mistakes
-
Choosing overly dark or extremely bold slabs in tiny bathrooms
-
Using quartzite on every surface without balance
-
Pairing busy veining with patterned tile or heavy cabinetry
-
Ignoring lighting conditions
These aren’t quartzite problems—they’re design balance issues.
How to Use Quartzite Tastefully in a Bathroom
1️⃣ Choose Softer Colors
Light and neutral quartzites work best in bathrooms:
-
Soft whites and creams
-
Light gray veining
-
Warm beige tones
These keep the room feeling open and calm.
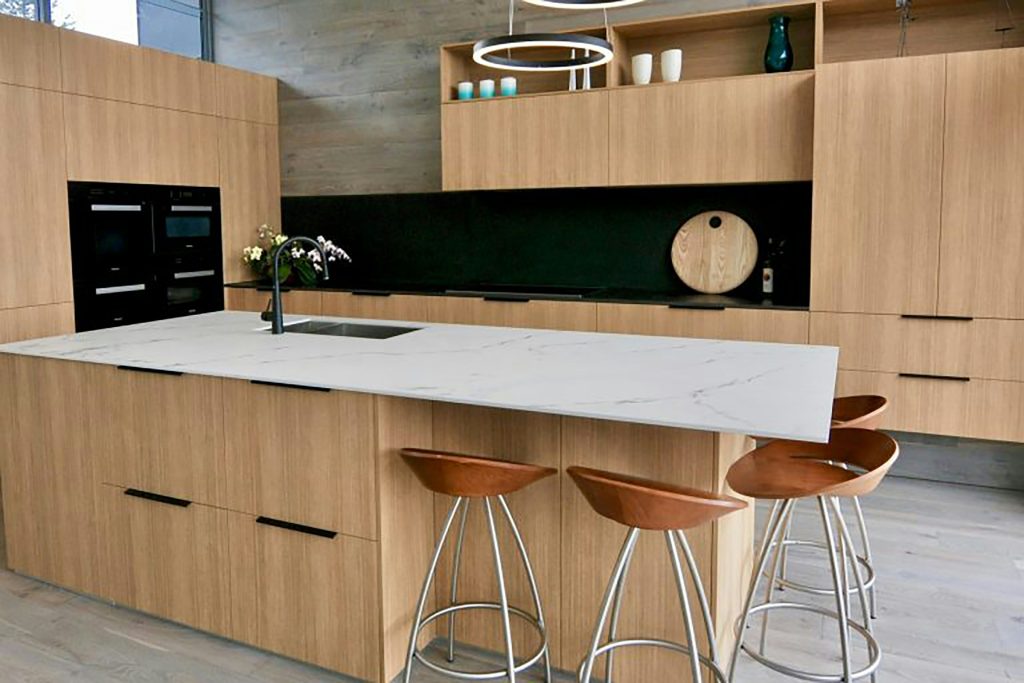
2️⃣ Limit Quartzite to Key Surfaces
You don’t need to use it everywhere.
Great applications include:
-
Vanity countertop
-
Full-height backsplash behind the sink
-
Feature shower wall
-
Tub surround accent
This creates impact without overwhelming the room.
3️⃣ Pair It With Simple Materials
Let quartzite be the star.
Balance it with:
-
Minimal cabinetry
-
Neutral wall colors
-
Simple fixtures
-
Matte finishes
Quartzite shines best when it isn’t competing with other bold elements.
4️⃣ Pick the Right Finish
Finish matters in a bathroom setting.
| Finish | Why It Works |
|---|---|
| Polished | Reflects light, brightens small spaces |
| Honed | Soft, spa-like, modern |
| Leathered | Best for accents, adds warmth |
Is Quartzite Worth the Cost in a Bathroom?
In many cases, yes.
Bathrooms use less material than kitchens, which means:
-
Lower overall slab cost
-
High visual impact per square foot
-
Strong resale appeal
A quartzite vanity or shower wall often delivers more perceived value than upgrading multiple smaller finishes.
Quartzite vs Other Bathroom Materials
| Material | Bathroom Performance |
|---|---|
| Quartzite | ⭐⭐⭐⭐⭐ Durable, elegant |
| Marble | ⭐⭐ Beautiful but delicate |
| Quartz | ⭐⭐⭐⭐ Low maintenance, uniform |
| Porcelain | ⭐⭐⭐⭐ Practical, modern |
| Granite | ⭐⭐⭐ Traditional, heavier look |
Quartzite offers one of the best balances between beauty and performance.
Final Verdict – Is Quartzite Too Much for a Bathroom?
Quartzite is not too much for a bathroom—it’s often just right.
When chosen thoughtfully, quartzite:
-
Adds luxury without excess
-
Performs well in moisture-rich spaces
-
Elevates resale appeal
-
Creates a timeless, spa-like feel
If you want a bathroom that feels intentional, elevated, and built to last, quartzite is a smart—and surprisingly practical—choice.