What Makes Quartzite a Reliable Material
When homeowners choose a surface for their kitchen or bathroom, reliability matters just as much as appearance. A beautiful material that doesn’t hold up to daily use quickly becomes a source of frustration. Quartzite stands out because it consistently delivers strength, stability, and long-term performance.
But what actually makes quartzite so reliable?
Here’s what sets quartzite apart from other countertop materials—and why it continues to earn homeowners’ trust.
Formed Under Extreme Natural Conditions
Quartzite begins as sandstone that is transformed under intense heat and pressure deep within the earth. This natural process produces a stone that is:
-
Extremely dense
-
Structurally stable
-
Resistant to wear
That natural formation gives quartzite its exceptional strength and long-term reliability.
High Hardness and Scratch Resistance
Quartzite ranks high on the Mohs hardness scale, making it one of the hardest natural stones commonly used in homes.
In everyday use, this means:
-
Scratches are uncommon
-
The surface holds its integrity
-
Normal kitchen activity doesn’t leave lasting marks
This hardness is a major reason quartzite performs so well over time.
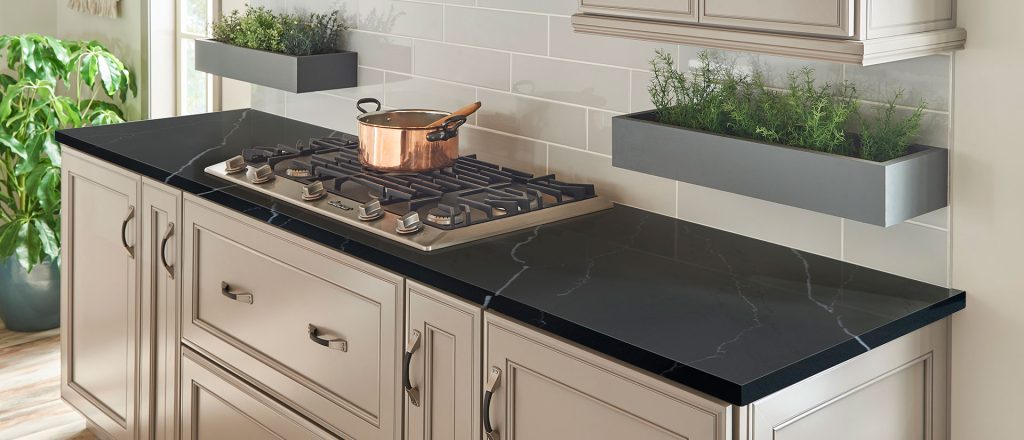
Excellent Heat Resistance
Quartzite handles heat better than many engineered materials.
You can expect:
-
Stability around cooktops
-
Resistance to hot cookware
-
No heat-related discoloration
While trivets are always recommended, quartzite is forgiving in real-world kitchens.
Structural Integrity Over Time
When fabricated and installed correctly, quartzite maintains its structure year after year.
Long-term reliability includes:
-
Stable seams
-
Strong edges and cutouts
-
No shifting or settling
-
Minimal chipping
Quartzite doesn’t degrade or weaken with normal use.
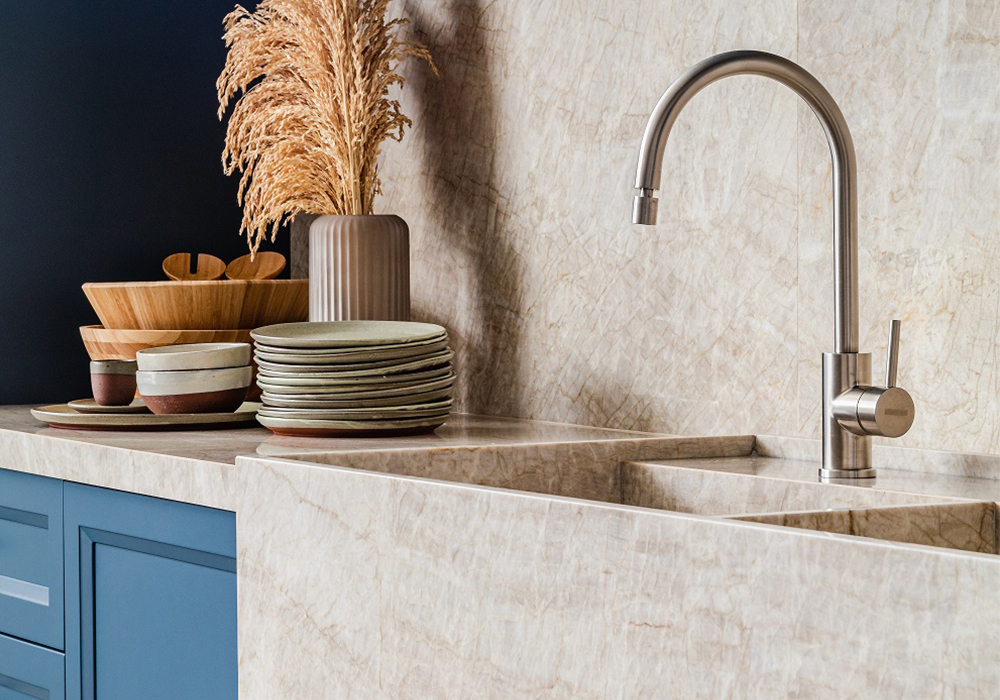
Natural Color and Pattern Stability
Quartzite’s color and veining are completely natural—not added with dyes or resins.
As a result:
-
Colors don’t fade
-
Whites don’t yellow
-
Patterns remain crisp
Even years later, quartzite looks much the same as it did when installed.
Predictable Maintenance Requirements
Reliable materials shouldn’t require constant attention.
Quartzite maintenance is:
-
Simple
-
Consistent
-
Easy to plan for
Periodic sealing and gentle cleaning are typically all that’s needed to keep the stone performing well.
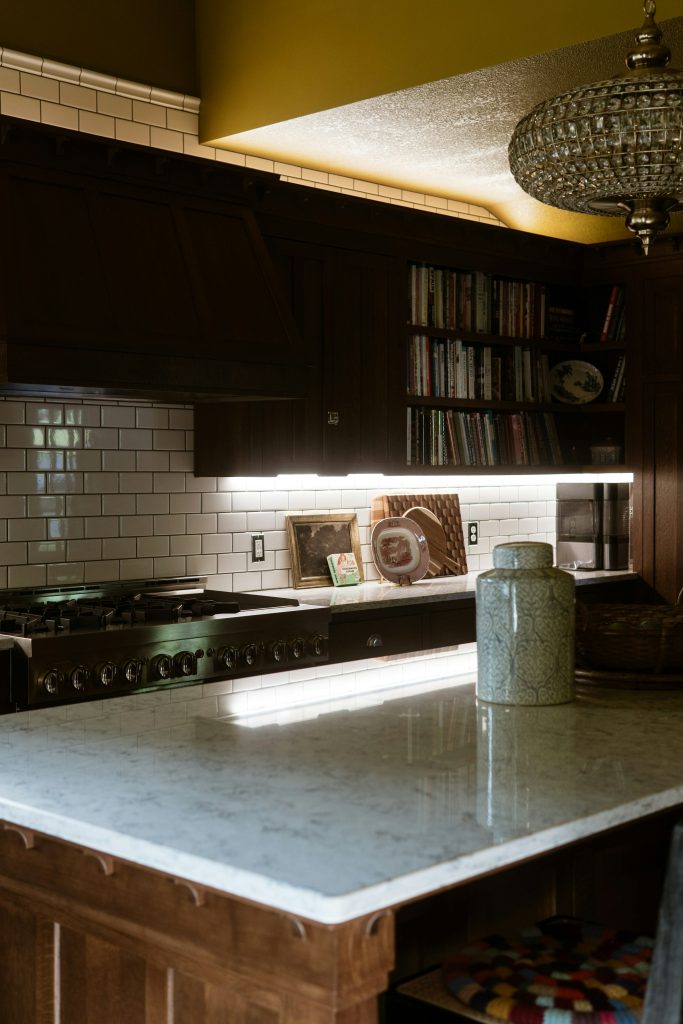
Ages Gracefully Instead of Wearing Out
Rather than showing obvious wear, quartzite develops a subtle, even patina over time.
This means:
-
Minor marks blend naturally
-
The surface looks lived-in, not damaged
-
The stone continues to look refined
This graceful aging contributes to quartzite’s reputation as a long-term material.
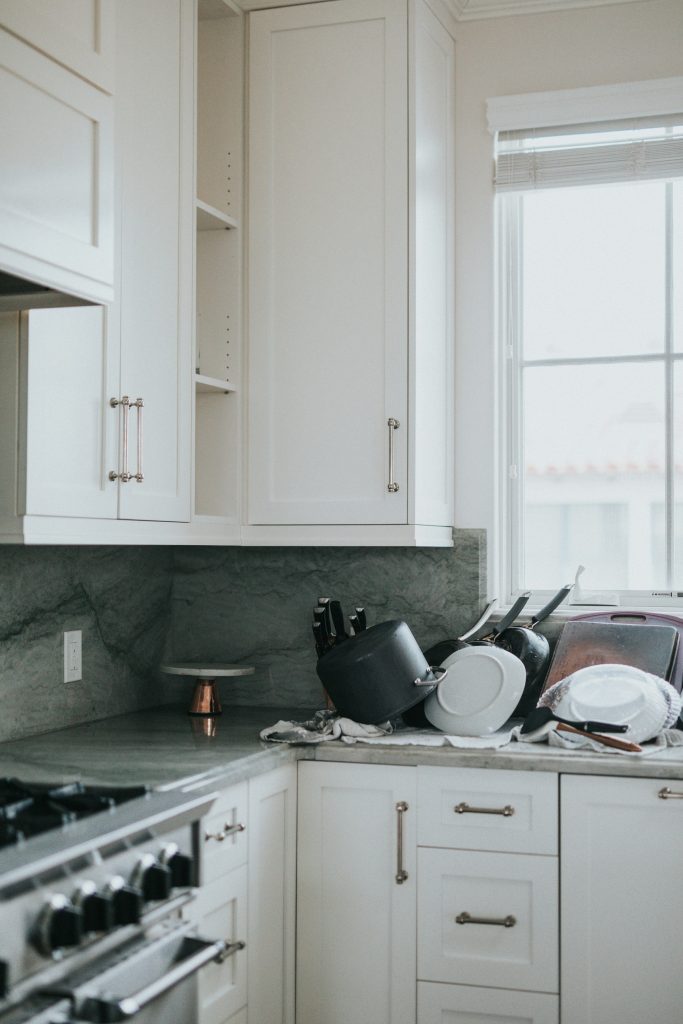
Performs Well in Real Homes
Quartzite isn’t just reliable in theory—it performs in everyday environments.
It handles:
-
Busy family kitchens
-
Frequent entertaining
-
Moisture in bathrooms
-
Daily cleaning routines
This real-world reliability is why so many homeowners choose quartzite again.
Why Fabrication Matters for Reliability
Even the strongest stone won’t perform well if handled poorly.
Professional fabrication ensures:
-
Proper slab selection
-
Strategic seam placement
-
Reinforced cutouts
-
Stress-free installation
When quartzite is fabricated correctly, its natural reliability shines.
Quartzite vs Other Materials
| Material | Reliability Over Time |
|---|---|
| Quartzite | ⭐⭐⭐⭐⭐ Consistent and durable |
| Granite | ⭐⭐⭐⭐ Durable, may dull |
| Marble | ⭐⭐ Prone to wear |
| Quartz | ⭐⭐⭐ Heat-sensitive |
| Laminate | ⭐ Short lifespan |
Quartzite consistently ranks among the most dependable options.
Final Takeaway – What Makes Quartzite a Reliable Material
Quartzite is reliable because it:
✨ Forms naturally under extreme conditions
✨ Resists scratches and heat
✨ Maintains structure and color
✨ Ages gracefully
✨ Requires predictable maintenance
When chosen carefully and fabricated correctly, quartzite delivers exactly what homeowners want from a surface—confidence, durability, and long-term performance.
Quartzite doesn’t just look strong.
It is strong—and that’s what makes it reliable.