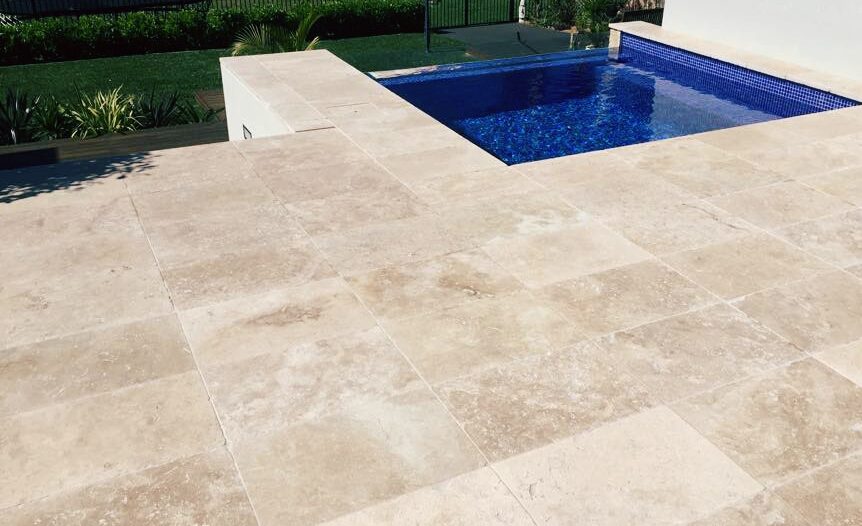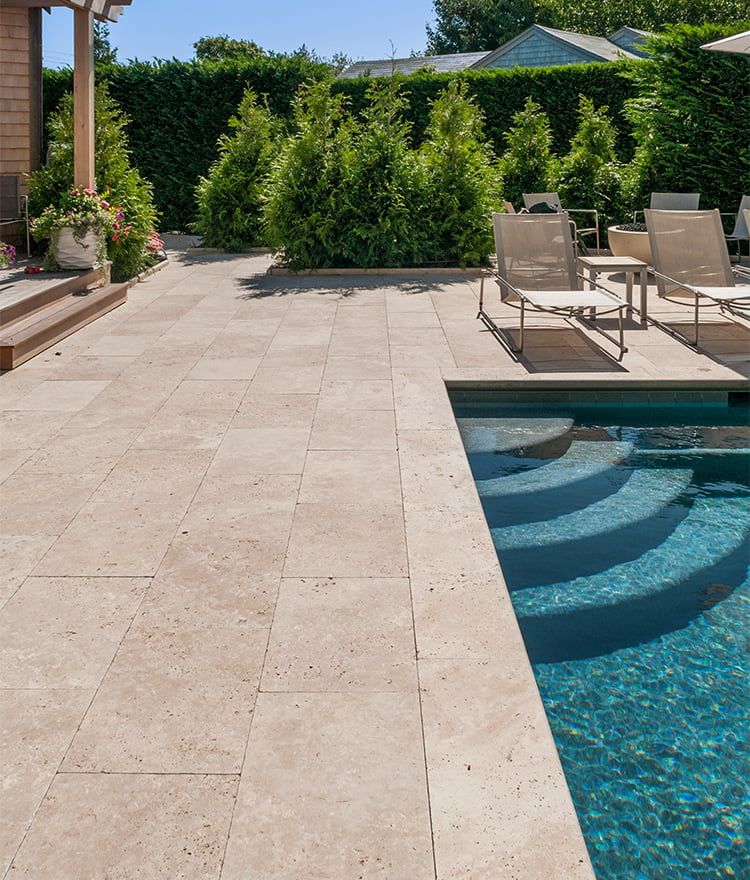
Does vinegar clean travertine pavers?
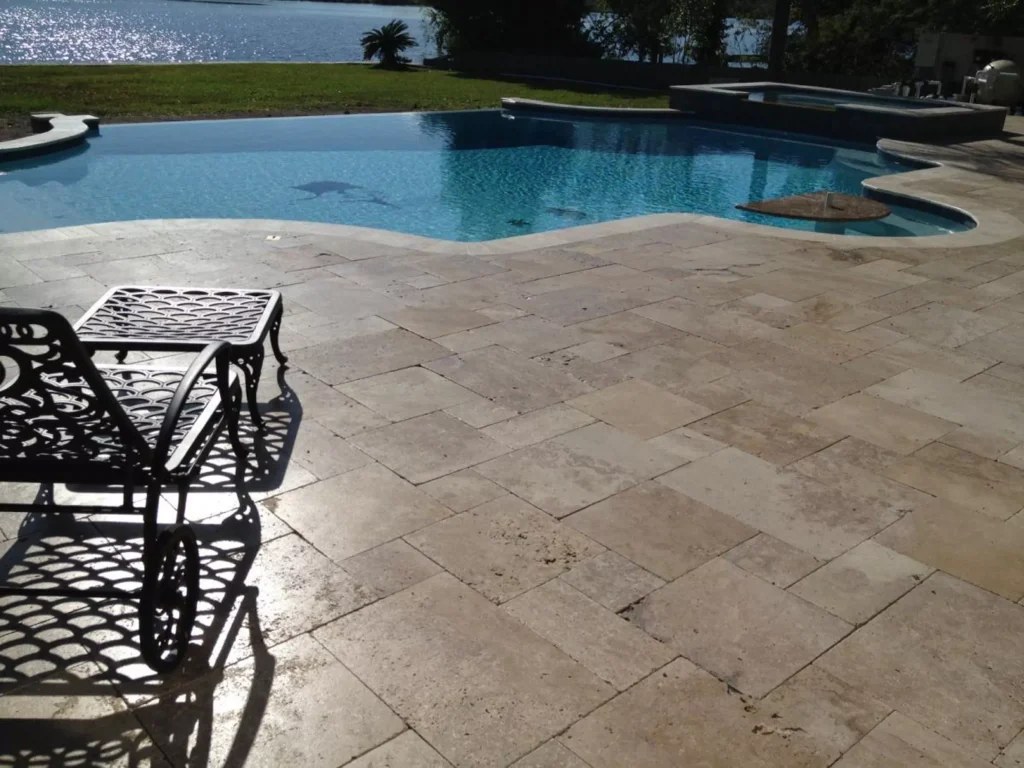
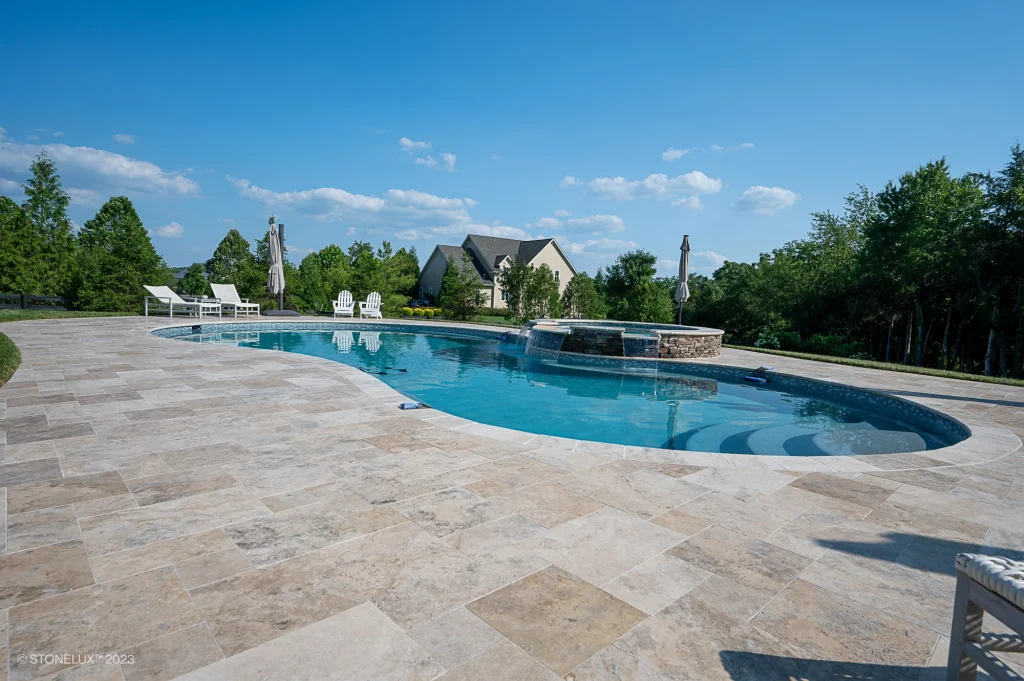
Travertine pavers are a timeless choice for patios, pool decks, and walkways thanks to their natural beauty and durability. When it comes to cleaning, however, homeowners often ask: Can I use vinegar on travertine pavers?
The short answer is no—vinegar should never be used to clean travertine.
Why Vinegar Is Harmful to Travertine
Travertine is a type of natural stone composed largely of calcium carbonate. Vinegar, being acidic, reacts with calcium carbonate and causes etching—a chemical burn that leaves dull, discolored, or rough patches on the stone surface. What may start as a simple cleaning attempt can quickly lead to permanent damage that requires costly restoration.
What to Use Instead
Instead of vinegar or other acidic cleaners (like lemon juice, ammonia, or bleach), opt for safer alternatives:
-
Stone-Safe Cleaners: Use pH-neutral cleaners specifically designed for natural stone.
-
Warm Water and Mild Soap: A few drops of a gentle dish soap mixed with water can handle everyday dirt.
-
Pressure Washing (Carefully): Low to medium pressure washing can help with stubborn dirt, as long as the stone is sealed.
Best Practices for Maintaining Travertine Pavers
-
Seal Regularly: Sealing your travertine helps protect against stains and makes cleaning easier.
-
Sweep Often: Regular sweeping prevents dirt and debris from scratching the surface.
-
Blot Spills Immediately: Especially with acidic liquids like wine, juice, or soda, which can etch the stone just like vinegar.
Final Thoughts – Does vinegar clean travertine pavers?
While vinegar is often recommended as an all-natural household cleaner, it is not safe for travertine pavers. The acidic nature of vinegar can permanently damage your stone. To keep your travertine looking its best, stick with pH-neutral cleaners and routine maintenance.