Does black granite scratch easily?
-
By
 Hanul
Hanul
Does black granite scratch easily? Black granite is a popular choice in modern kitchens and bathrooms thanks to its bold aesthetic, timeless appeal, and reputation for durability. But if you're considering this stone for your countertops or floors, you might be wondering: Does black granite scratch easily?
Let’s dive into what makes black granite unique and how it stands up to daily wear and tear.
What is Black Granite?
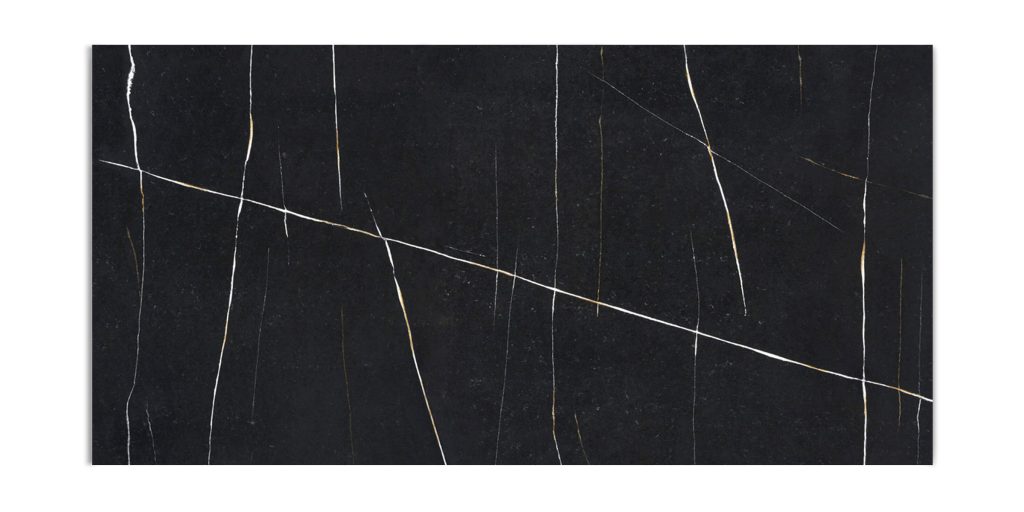
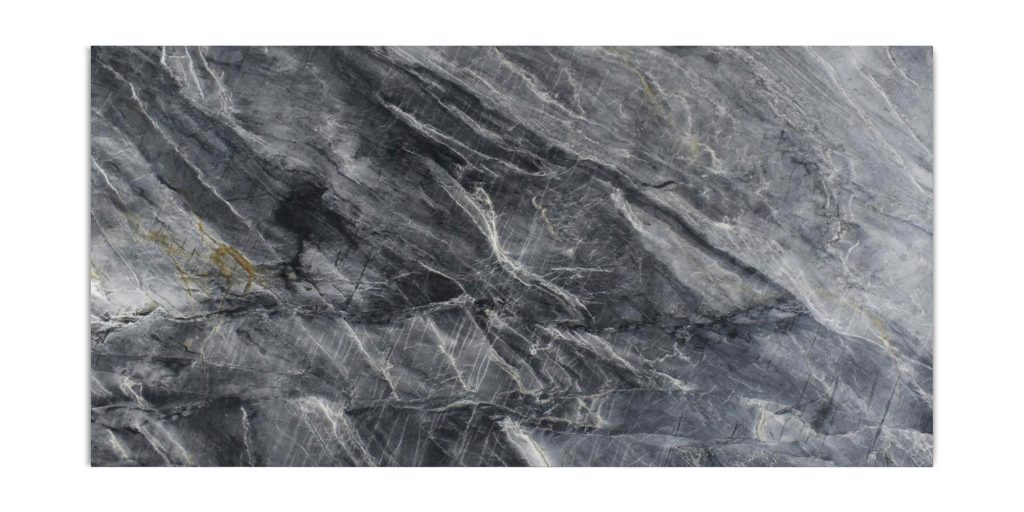
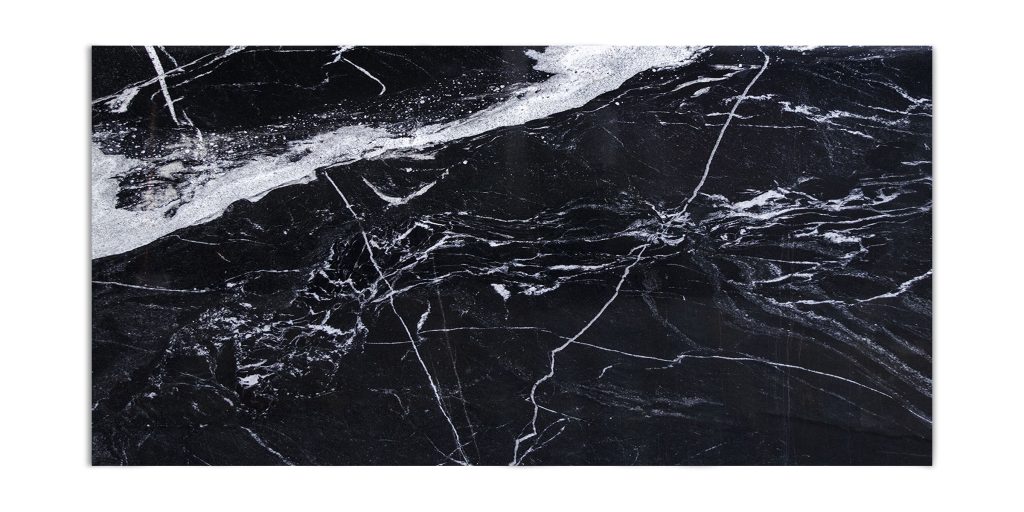
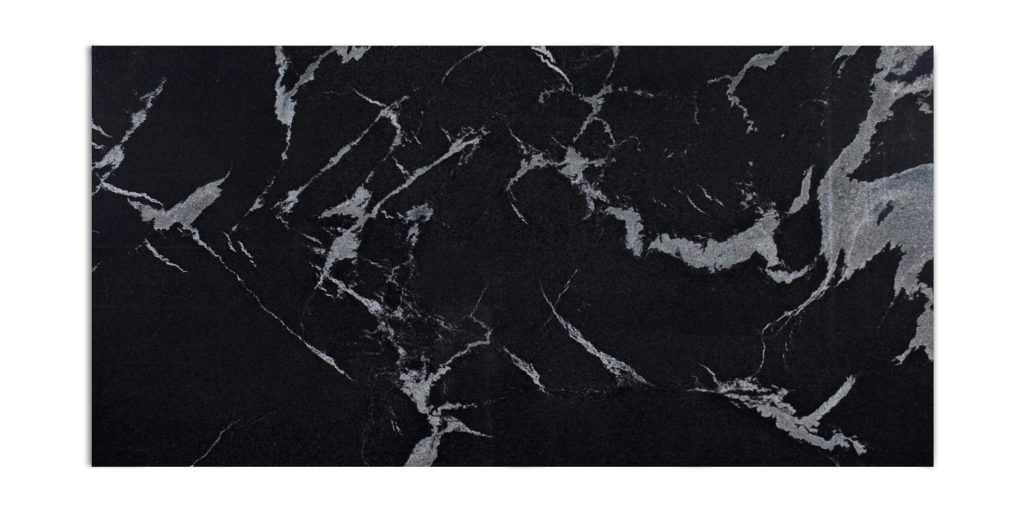
Black granite is a natural stone composed primarily of quartz and feldspar with minor amounts of mica and other minerals. It gets its deep color from a high concentration of dark minerals like amphibole or biotite. Some common types include Absolute Black, Black Galaxy, and Impala Black.
Durability and Hardness
Granite, including black granite, is one of the hardest natural stones used in home construction. On the Mohs scale of mineral hardness (which ranks materials from 1 to 10), granite typically falls between 6 and 7. This makes it harder than most metals and certainly more scratch-resistant than many other countertop materials.
So, no—black granite does not scratch easily. It is strong enough to resist damage from knives, pots, and pans under typical use. However, “not easily” doesn’t mean “never.”
What Can Scratch Black Granite?
Although black granite is highly scratch-resistant, certain things can still cause damage:
Harder minerals or stones: Dragging something like unglazed ceramic or a chunk of quartz across the surface can leave a mark.
Diamond jewelry: Accidentally scraping a diamond ring across the countertop could potentially leave a light scratch.
Sand or grit: Tiny particles of sand caught under heavy items or shoes (in the case of granite flooring) can cause surface abrasions over time.
How to Prevent Scratches
To keep your black granite looking flawless:
Use cutting boards instead of chopping directly on the counter.
Clean up grit or sand immediately to prevent abrasion.
Avoid dragging heavy appliances or sharp objects across the surface.
Apply a high-quality sealant as recommended by your installer to maintain the stone’s resistance to damage and stains.
Final Thoughts
So does black granite scratch easily? Black granite is a tough, elegant surface that stands up exceptionally well to everyday use. While it’s not completely scratch-proof, with a bit of care, it will remain beautiful and scratch-free for years to come. If you want a stone that combines luxury with longevity, black granite is a solid (literally!) choice.