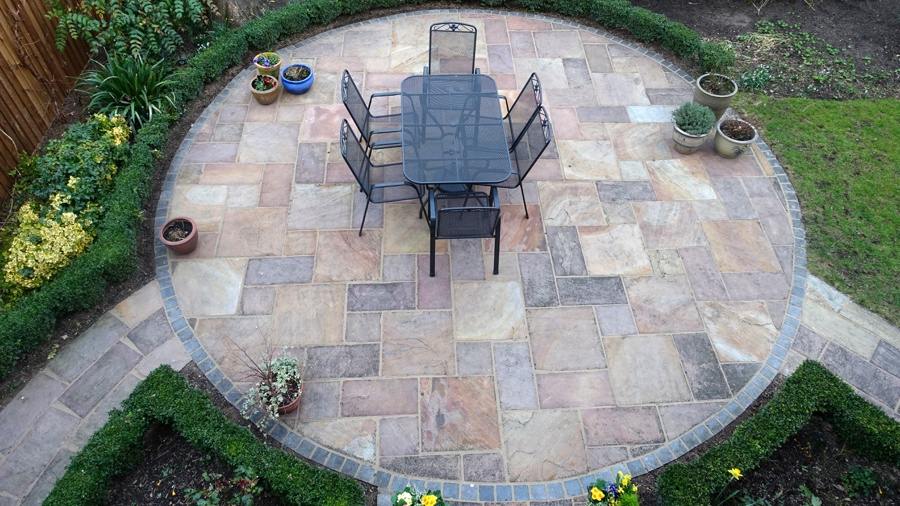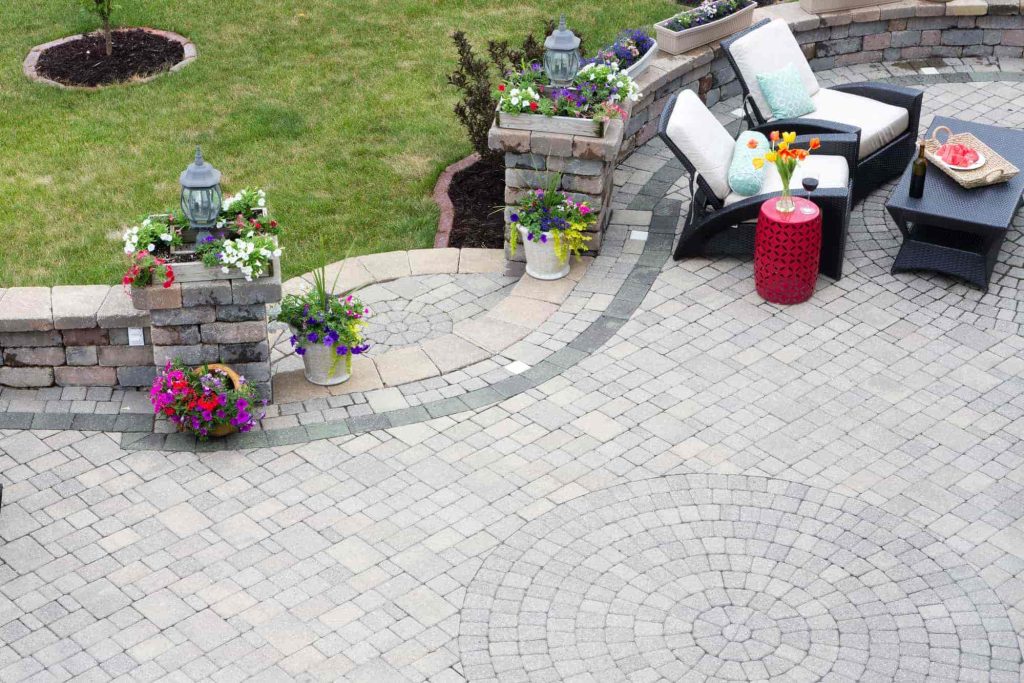
What is the best base for pavers?
What is the best base for pavers? When investing in natural stone pavers, whether for a patio, walkway, driveway, or poolside, one of the most important—but often overlooked—factors for long-term success is the base beneath them. Choosing the right base is essential to ensure your pavers stay beautiful, level, and structurally sound for years to come.
So, what is the best base for pavers? Let’s explore the top options, how they compare, and why proper installation makes all the difference.
Why the Base Matters
The base is the foundation of your entire project. It:
-
Supports the weight of the pavers and any loads above them (like foot traffic or vehicles).
-
Prevents shifting and settling.
-
Provides drainage to reduce water-related damage.
-
Helps keep weeds and erosion at bay.
Without a strong, well-prepared base, even the most beautiful natural stone pavers can crack, sink, or become uneven over time.
Best Base Options for Natural Stone Pavers
1. Crushed Stone Base (Also Called Dense Grade Aggregate or Crusher Run)
Best for: Most residential and commercial applications
This is the most commonly recommended base material. Crushed stone, often made of limestone or granite, compacts well and provides excellent drainage. It’s a mix of stone dust and larger particles, typically 3/4″ and smaller.
Pros:
-
Excellent load-bearing capacity
-
Promotes proper drainage
-
Easy to level and compact
Installation Tip: Compact the base in 2–4 inch layers using a plate compactor for best results. A depth of 4–6 inches is typical for patios and walkways, and 8–12 inches for driveways.
2. Gravel Base
Best for: Areas with heavy water runoff or softer soil
Gravel (angular, not rounded) can be used similarly to crushed stone but offers better drainage in wet areas. However, it may shift more easily if not compacted properly.
Pros:
-
Superior drainage
-
Readily available
Cons:
-
May require a stabilizing layer or geotextile fabric to prevent shifting
3. Sand Layer (as a Bedding Layer, Not a Base)
Best for: Final leveling under natural stone pavers
Sand is not a substitute for a proper base—but it plays a crucial role in the final layer. A 1-inch layer of bedding sand (typically coarse concrete sand) is spread over the compacted base to help settle the pavers evenly.
Avoid using fine play sand, as it doesn’t compact well and can cause shifting.
4. Permeable Base (Open-Graded Aggregate)
Best for: Eco-friendly installations, permeable patios, or areas with drainage concerns
This base uses clean, angular stone (no stone dust or fines) to allow water to drain straight through. Often paired with permeable natural stone pavers.
Pros:
-
Excellent drainage
-
Reduces runoff and erosion
-
Ideal for sustainable landscapes
Cons:
-
Requires more precise installation and knowledge of water management
Final Thoughts: What’s Best Depends on Your Project
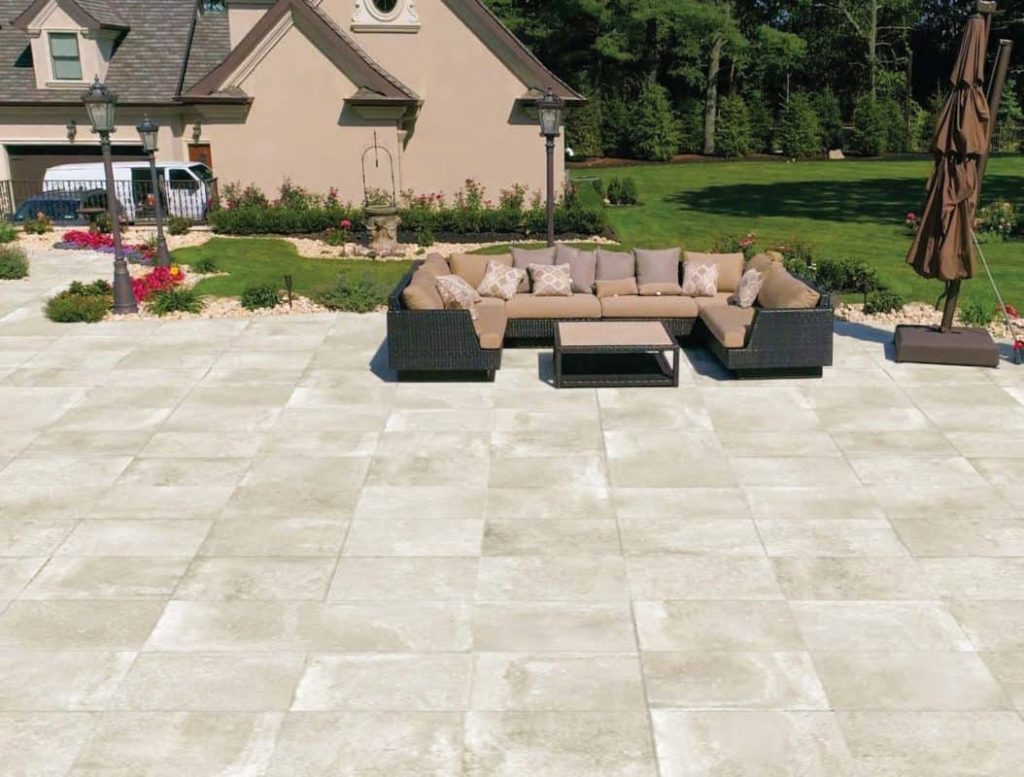
For most standard installations, a crushed stone base topped with a sand bedding layer is the ideal choice. It offers a strong, stable, and long-lasting foundation for your natural stone pavers.
However, every project is unique. Soil type, slope, climate, and intended use (e.g., foot traffic vs. vehicle load) all play a role in selecting the best base.
Need Expert Advice or Premium Stone Pavers? – What is the best base for pavers?
At Tez Marble, we specialize in high-quality natural stone pavers and provide guidance every step of the way—from selecting materials to recommending installation best practices. Whether you’re a contractor or a homeowner, we’re here to help you build a surface that’s both stunning and durable.
📞 Contact us today to get started or visit our showroom to see our full range of natural stone options.